
|
|
#71
 08-09-2010, 04:33 PM
|
||||
|
||||
|
Quote:
I decided that I should stick some tape at approximately the place on the main arm support column, where I had measured enough for the arm to drop past parallel into a negative camber. The difference is quite marked. The bass i was missing before is there in all it's analogue glory and the highs have been tempered slightly, much more to my liking. Of course, reading this thread, I understand that I have to reset the tracking weight and I did go over the 2.0gm recommended weight, with a generous twist of the counter weight. Unfortunately, I am still without scales so had to use the gauge supplied, but I am now more confident at experimenting myself to suit my own preferences.(this after just 3 days, since opening the box on Saturday) The real reason for posting is to say I'm thrilled at the fuller bodied sound and dramatic increase in bass. I fully expect this TT to sound even better as it settles in. As a tip, I gave the sinking of the arm column some thought and decided that I needed something which would mark the original location and give me a handle on where it needed to be. My first thought was sticky tape and I ended up using some tape from a loaf of bread. Not too sticky, but something which would stay where I put it and could easily peel away with no residue. I'm not sure you can see the difference in these photos, but I'll post the before and after anyway. Believe me, this is a whole world of difference from tail up to tail down in terms of sound quality. Here is the tail up situation( probably not clearly evident, due to wide angle lens, camera angle and macro setting). 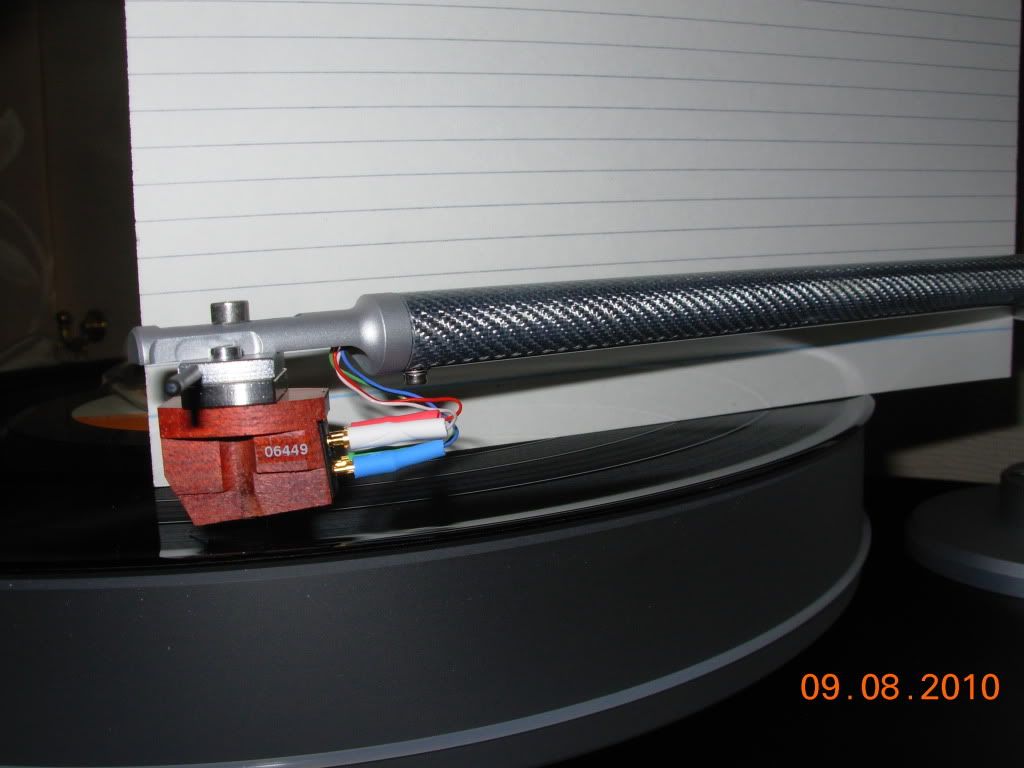 This tape (from a loaf of bread,  ) marks where I think the arm's base column needs to be for a tail down correction. ) marks where I think the arm's base column needs to be for a tail down correction.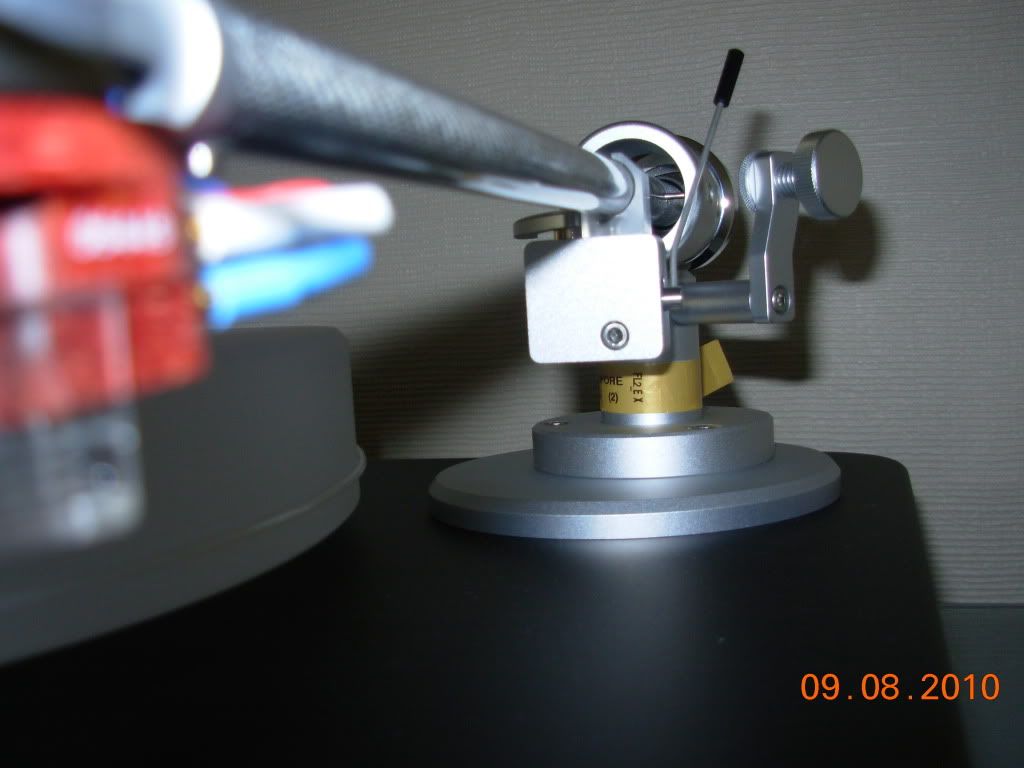 This is the position after the tweaking, keeping the tape in place, for accuracy. 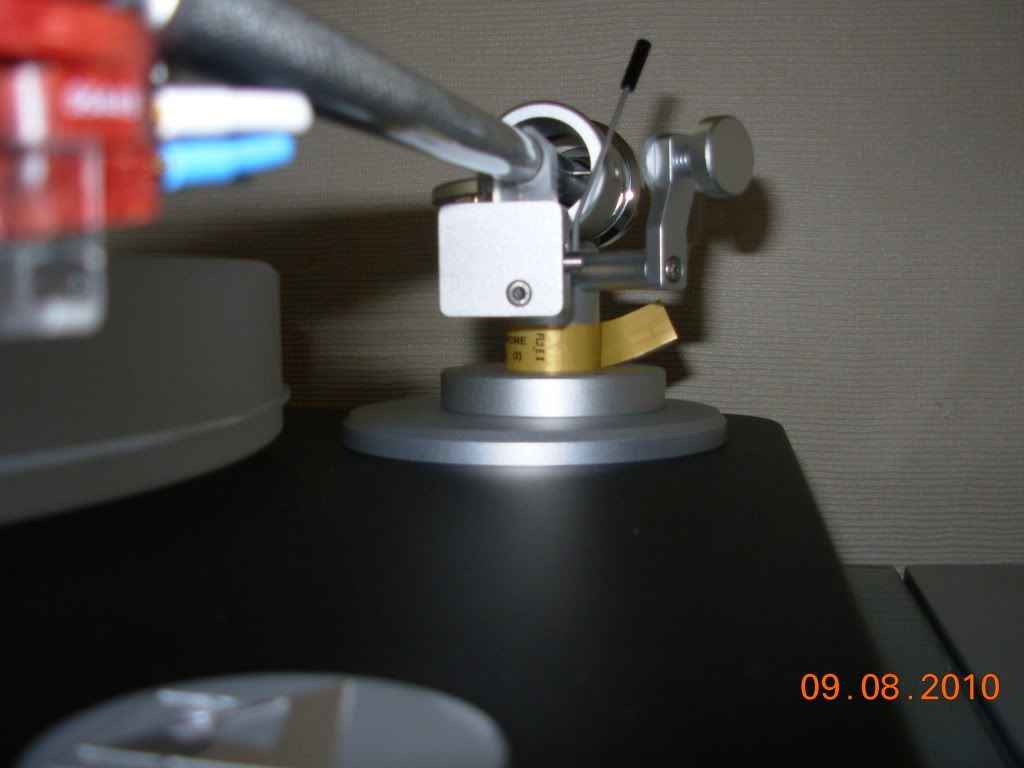 and this is the final confirmation that we now have a tail down situation. 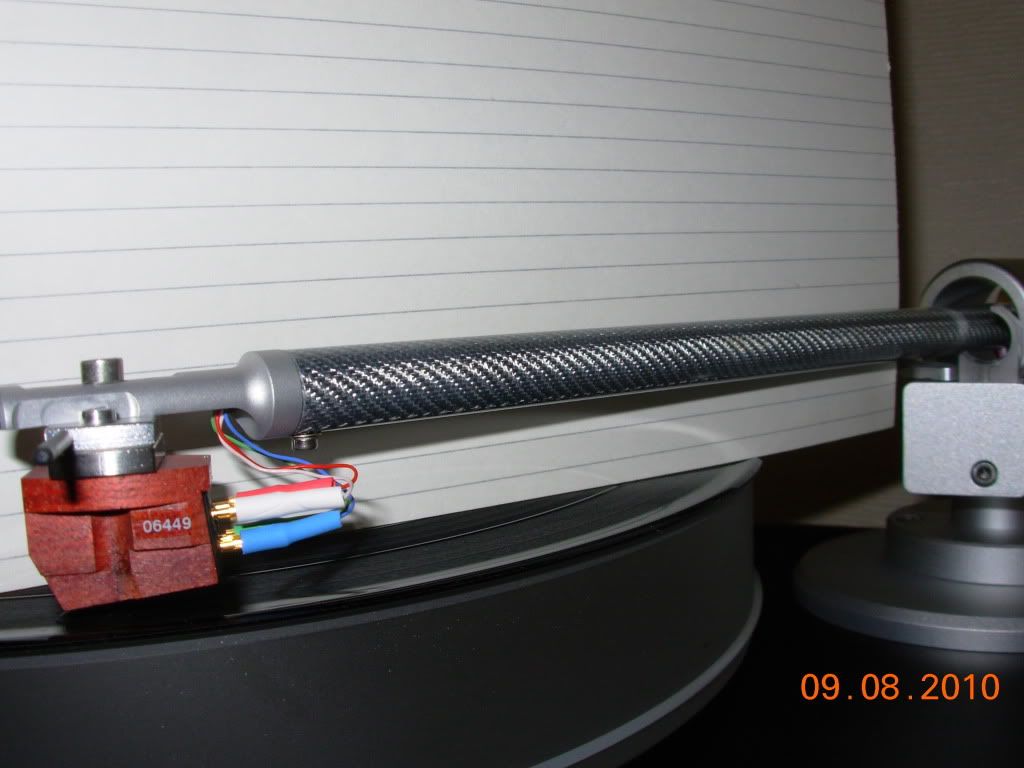 I still have some fine tuning to do, not least a proper set up protractor, like Serge used, but I'm near the sweet spot and thanks to Jeff's advise, I am now positively happy as opposed to slightly underwhelmed, as I was on Saturday. Sorry for posting in Serge's thread, and thanks to Jeff for his invaluable expertise. 
|
|
#72
08-09-2010, 06:13 PM
|
|||
|
|||
|
dbz, looks like you have done a great job........you may want to cut your index card so its about 2 inches wide as if you look in the photos you will see the LP may not be perfectly flat and most are not. Check out the edge of the LP it appears from the photo it a tad bit higher at the edge.......
Also try the cart without the extra headshell weight as its really not needed with the Satisfy arm as it can take cart from about 2.5 grams to 17 grams plus the back of the arm will be closer to the arm board which will make it more stable.
|
|
#73
08-10-2010, 05:16 PM
|
||||
|
||||
|
Jeff
Well I'll be...I wondered why you suggested the strip of paper and now you mention it, I can see the gap. Good Eyes and a good explanation of why it should be smaller paper. I'll remember that next time. I'm much happier now, but that won't stop me playing around with different tracking weights or removing the metal cart platform. Once I get this run in, I'll probably be back asking more question, if you don't mind Jeff. Thanks again. Invaluable info. Darren Last edited by dbz; 08-17-2010 at 06:09 AM.
|
|
#74
11-05-2010, 02:34 AM
|
||||
|
||||
|
. . . . if you have a conical or elliptical stylus, it's not critical.
Here is an article I wrote about 4 years ago which explains the importance and the technique of correctly set SRA (stylus rake angle) -- and the utter folly of VTA (vertical tracking angle) as a setup parameter -- even if one could somehow determine it. Here's why: 1. The likelihood of a given cartridge's geometry exactly matching the cutterhead with which the record was made, is basically nil! 2. and even if a cartridge physically matched a particular cutterhead in all respects (cantilever length, angle to record, mounting angle of actual cutter stylus, etc) adjusting the cartridge so it matched the cutterhead relative to the record would not guarantee a proper "fit" of the stylus in the groove. (In case you didn't realize it, groove undulations (wiggles) are not vertical; they slant due to the rake of the cutterhead.  ) )3. A line contact stylus must therefore rake at the same angle as the groove undulations so it can perfectly "lock into" the groove. To accomplish this requires you first set everything up so the stylus is vertical (no rake) in the groove, and the apply the proper rake angle -- which is done by raising the tonearm post from it's position when the stylus is vertical. If you have a tonearm (like a Graham or Tri Planar) with "VTA on the fly", it's easy to do, but you still first have to establish the "no rake" setting. Here's how to do it. You have no idea how good a cartridge can sound!: AudiogoN Forums: How to set SRA after determining true vertical? Last edited by nsgarch; 11-05-2010 at 08:48 PM.
|
|
#75
11-05-2010, 11:19 PM
|
|||
|
|||
|
Quote:

|
|
#76
07-13-2011, 03:01 PM
|
||||
|
||||
|
Quote:
Just thought I would share my experiences so far...I'm already mulling a second arm, cart and possbly a reference level Phono-stage. My current one is the Clearaudio Balance + with the ACCU+ DC power unit. It sounds great, but I do wonder how much better a reference level phono stage like the Allnic H-3000 or the Pass XP 25 sounds. In any event enjoy the wax. Cheers !
|
|
#79
08-07-2012, 06:46 PM
|
||||
|
||||
|
In anticipation of getting a Clearaudio Performance DC and Talisman v2 in the next couple weeks, I just ordered the Dr. Feickert protractor. It will be here tomorrow. I also have the a Fozgometer. I look forward to accomplishing setup and an improvement over my Rega RP3/DV 20x2H.
__________________
Dean
|
|
#80
03-09-2013, 01:53 PM
|
||||
|
||||
|
This technique never worked for me, I like Analog LP test.
|
 |
|
|

| Audio Aficionado Sponsors | |
|
AudioAficionado Subscriber
 Inspire By Dennis Had
 Harmonic Resolution Systems
 Wyred4Sound
 Dragonfire Acoustics
 GIK Acoustics
 Esoteric
 AC Infinity
 JL Audio
 Add Powr
 |
Accuphase - Soulution
 Audio by E
 Canton
 Bryston
 WireWorld Cables
 Stillpoints
 Bricasti Design
 Furutech
 Shunyata Research
 Legend Audio & Video
 |


 .......
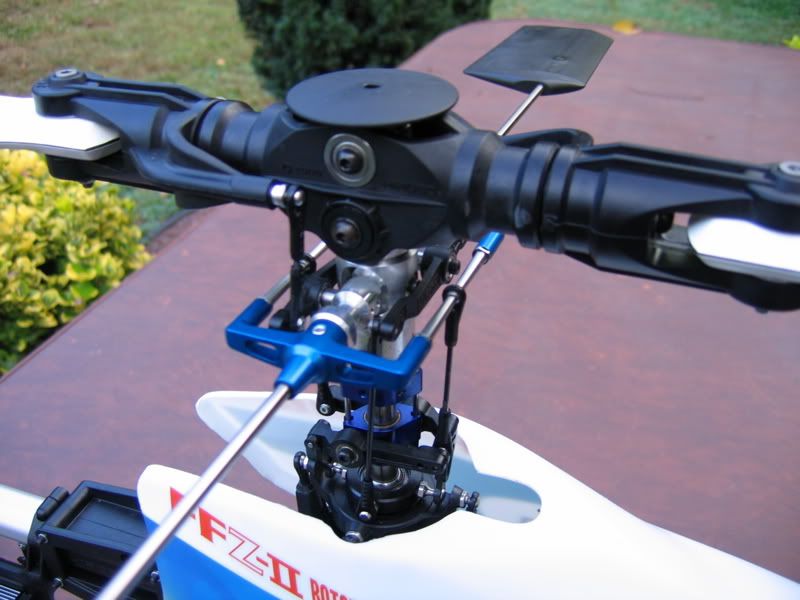
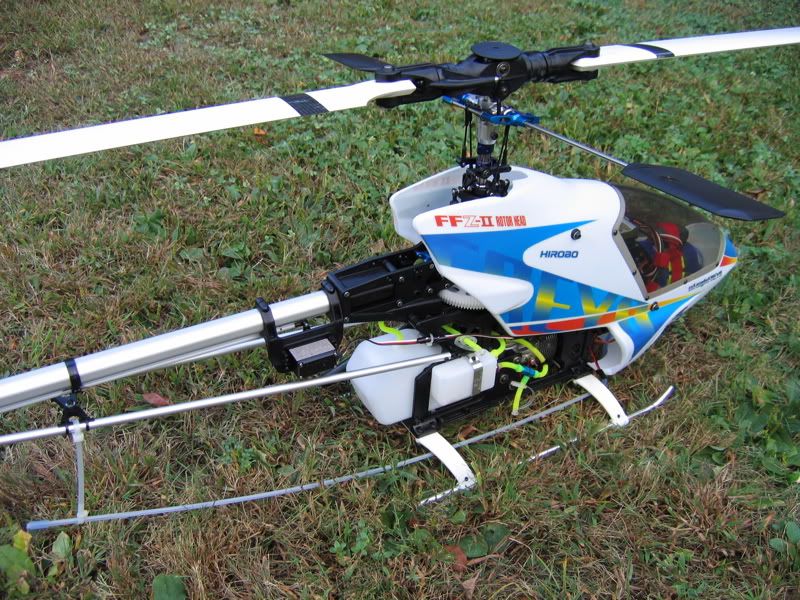
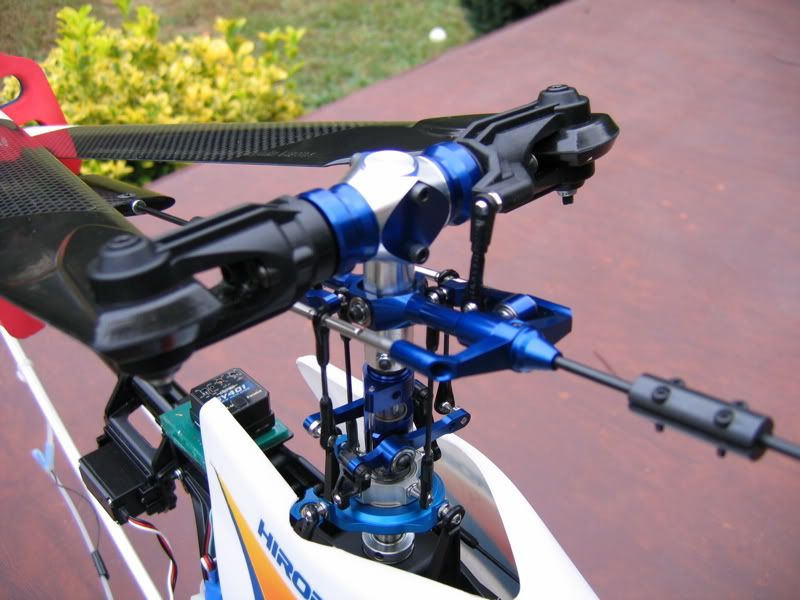
 This is nothing compared to radio controlled helicopters I used to build, now that required a learning curve not only to build but to fly as well....
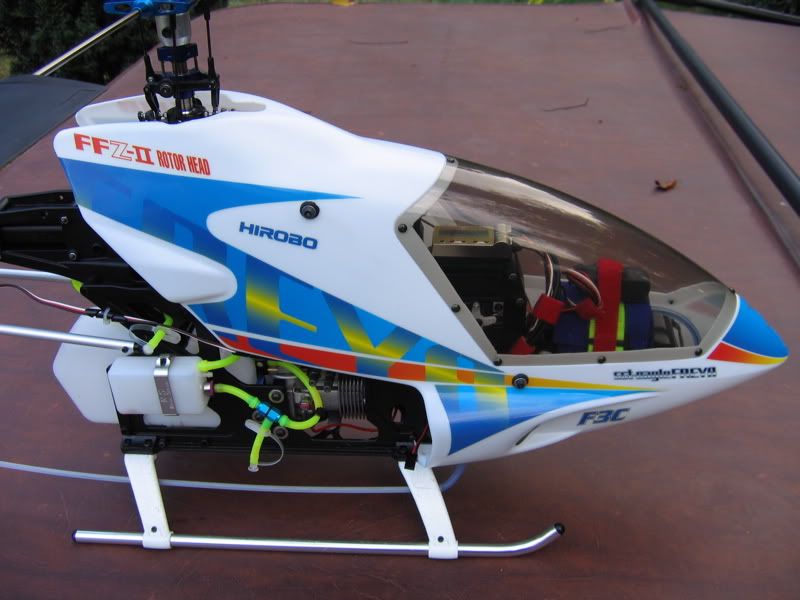


 Linear Mode

